Range Rover Classic – Subwoofer & Door Speaker Upgrade
Share
If you’ve been following this Range Rover Classic build, you’ll know the goal is to upgrade key components while maintaining that OEM+ feel. In this post, we’re diving into the process of upgrading the factory subwoofer, door speakers, and head unit to bring everything together. Let’s take a closer look!
Step 1: Inspect the Factory Subwoofer
The first step was to check out the stock subwoofer and determine its size. The size is abnormally rare at 7 1/4", so there weren’t too many aftermarket options available. I chose to downsize slightly with a 6.5" from Amazon. It is low-cost and should be a decent improvement over the factory subwoofer.
Step 2: Testing a New Subwoofer that Didn’t Fit
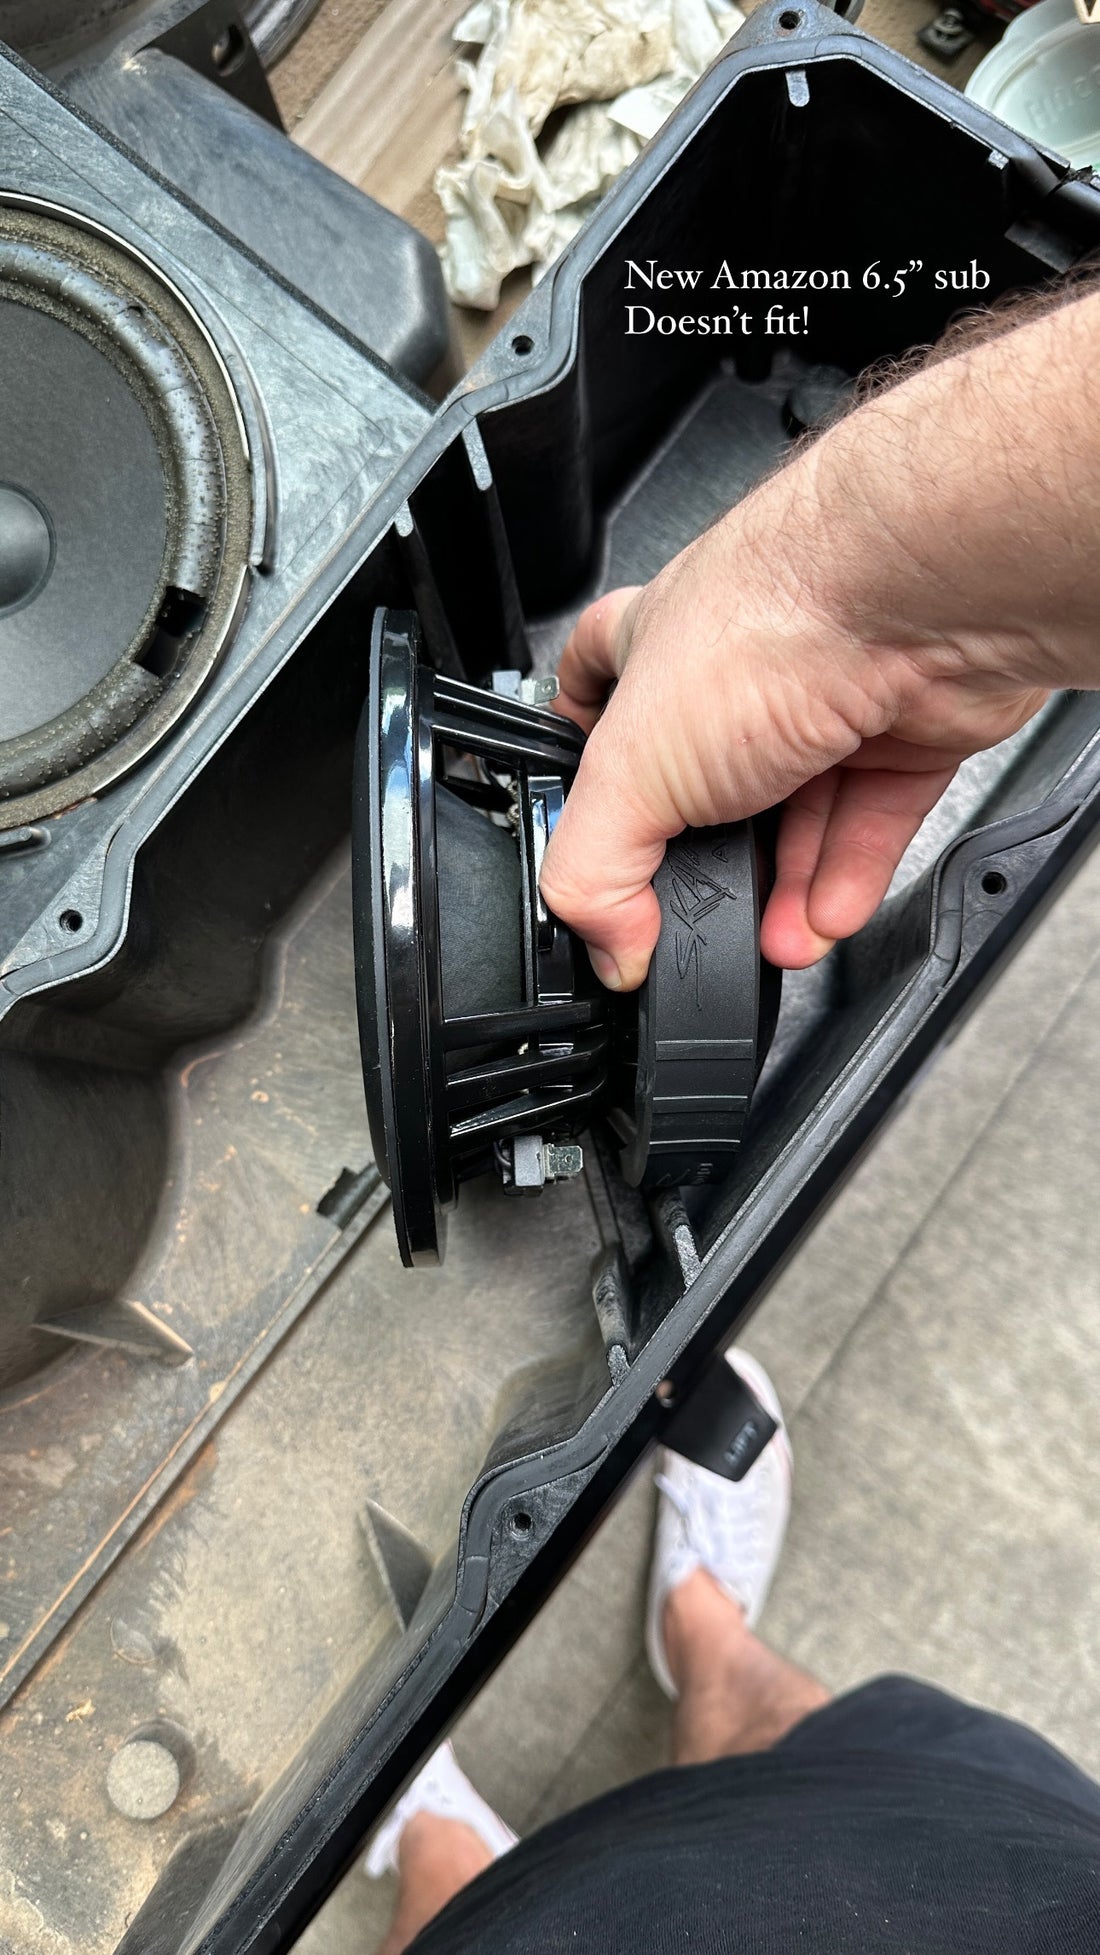
While experimenting with different options, I tried the new Amazon 6.5” sub, but unfortunately, it didn’t fit properly in the stock housing. This was a good problem-solving project, though, and I had an idea to make it work!
Step 3: Prototype Foam Wedge for the Subwoofer
I came up with an idea to make a wedge to relocate the mounting face. To do this, I used the factory mount with a prototype wedge made from foam. This allowed me to confirm the fit before moving on to a more permanent solution.

Step 4: Test Fit and Success!
After some trial and error, I was able to confirm that the setup works perfectly. At this point, I started looking into off-the-shelf mounts with a similar angle for 6.5" speakers/subs and found a Tesla 6.4” speaker adapter that seemed like a potential solution for this setup. I ordered a set to test, and it worked perfectly!

Step 5: The Factory Sub Box and New Mounting Solutions
In this shot, you can see the factory sub box, along with the Amazon 6.5” sub, Tesla 6.5” speaker mount, and the factory sub mount. The difference in design is pretty clear here, but it's all about finding the right balance for a clean install.
From here, I moved forward with the installation. The factory housing was cleaned, sealed, and reassembled, with the upgraded subwoofer sitting perfectly in place, ready to deliver great sound.

Step 6: Installing the Subwoofer Box in the Vehicle
With the new subwoofer in place, it was time to work on the actual installation. The back of the Range Rover is soundproofed to reduce any unnecessary noise, which is critical to ensure the bass sounds clean and punchy.
Upgrading the Door Speakers
Next up were the door speakers. This is a slow and steady process as I’m fitting 6.5” speakers into the lower door cards, but it’s going to be worth it.
I went with 4" Audison APX 4 Prima Series up top and 6.5" Hertz C 165 mid-range woofers down the bottom. The smaller 4" speakers will run directly off the head unit's HPF while the lower woofers run off the amp for better tunability and added mid-range bass.


Conclusion
The result? A clean, powerful bass that sounds amazing inside the sound-deadened cabin without being obnoxious outside.
Parts Required:
- Subwoofer: Skar Audio EVL-65 D4 6.5" 400 Watt Max Power Dual 4 Ohm Car Subwoofer
- Tesla Bracket: Aerpro APS363 6.5″ Black Speaker Spacer Suit Tesla Model S & X
- Head Unit: Pioneer DMH-ZF7650BT 9″ Apple CarPlay/Android Auto Wireless AV Receiver
- Speakers: Audison APX 4 Prima Series 4″ 120W 2-Way Coaxial Speakers (Pair), Hertz C 165 6.5″ 210 Watts Cento Series Component Woofer (Pair)
- Amplifier: Boss Audio BE2200.5D Elite High Output 5 Channel Class D 2200W Car Amplifier
Stay tuned for more updates as I continue the build. It’s all about getting the right balance of quality and functionality, and I’m excited to hear the difference this upgrade will make in my Range Rover Classic!


